

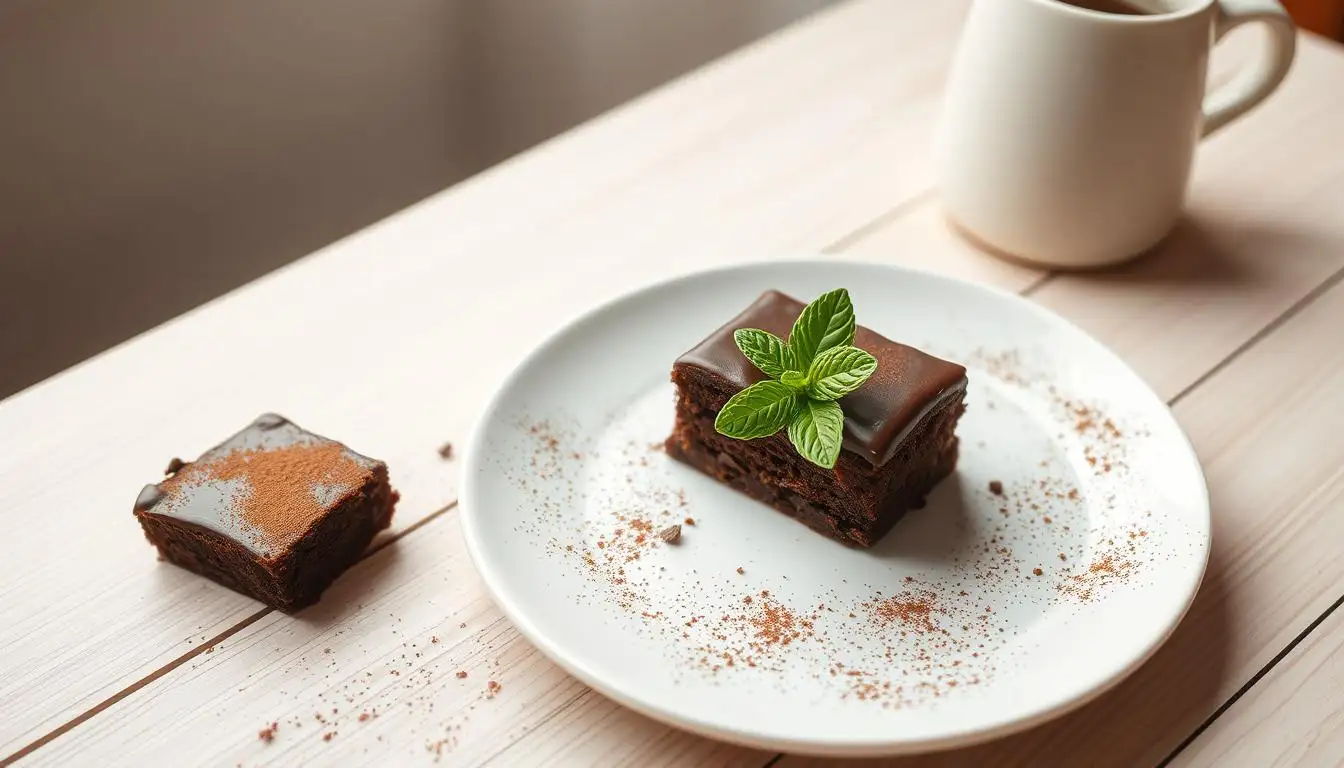
What if you could enjoy a rich, moist chocolate cake that’s completely gluten-free—and no one would even notice the difference? This isn’t just a healthier alternative; it’s a showstopping dessert that satisfies chocolate cravings without compromising on taste or texture.
Whether you’re baking for someone with celiac disease, gluten sensitivity, or simply looking for a better-for-you treat, this gluten-free chocolate cake recipe delivers deep chocolate flavor, soft crumb, and bakery-style results—right from your own kitchen.
Made with simple pantry staples like almond flour, coconut sugar, and premium cocoa powder, it’s the best chocolate cake without gluten you’ll ever try. In this post, you’ll learn exactly how to make a moist gluten-free chocolate cake that’s perfect for birthdays, celebrations, or anytime indulgence.
We’ll cover step-by-step instructions, smart substitutions, and pro baking tips to guarantee success. If you’re searching for a foolproof, delicious, and easy gluten-free dessert, this is the one that will keep everyone coming back for seconds.
Introduction to a Guilt-Free Chocolate Experience
Who says indulgence can’t be inclusive? This dessert redefines modern baking by blending rich flavors with thoughtful adaptations. It’s crafted for those seeking treats that cater to diverse needs without compromising on texture or taste.
If you’re new to a gluten-free diet, learn more about safe eating and ingredients from the Celiac Disease Foundation.
Why Choose This Approach
Simplicity meets versatility in every bite. With just one mixing bowl and 10 core components, prep takes under 15 minutes—ideal for busy schedules. The process skips complex steps, letting you focus on enjoying the journey from batter to oven.
Key advantages include:
- Accommodates common allergens like wheat or dairy (with easy swaps)
- Uses pantry staples like coconut sugar for balanced sweetness
- Delivers harmonious results for both neophyte cookers and experts
Standout Qualities
What elevates this creation? Flawless moisture retention. Unlike many alternatives that dry out quickly, it stays tender for days. The blend of almond flour and arrowroot mimics traditional textures, while premium cocoa powder ensures deep, velvety notes.
Every ingredient serves dual purposes—enhancing structure and flavor. Eggs bind the mixture, while apple cider vinegar activates leavening agents. This synergy creates a spongey crumb that’s indistinguishable from conventional versions.
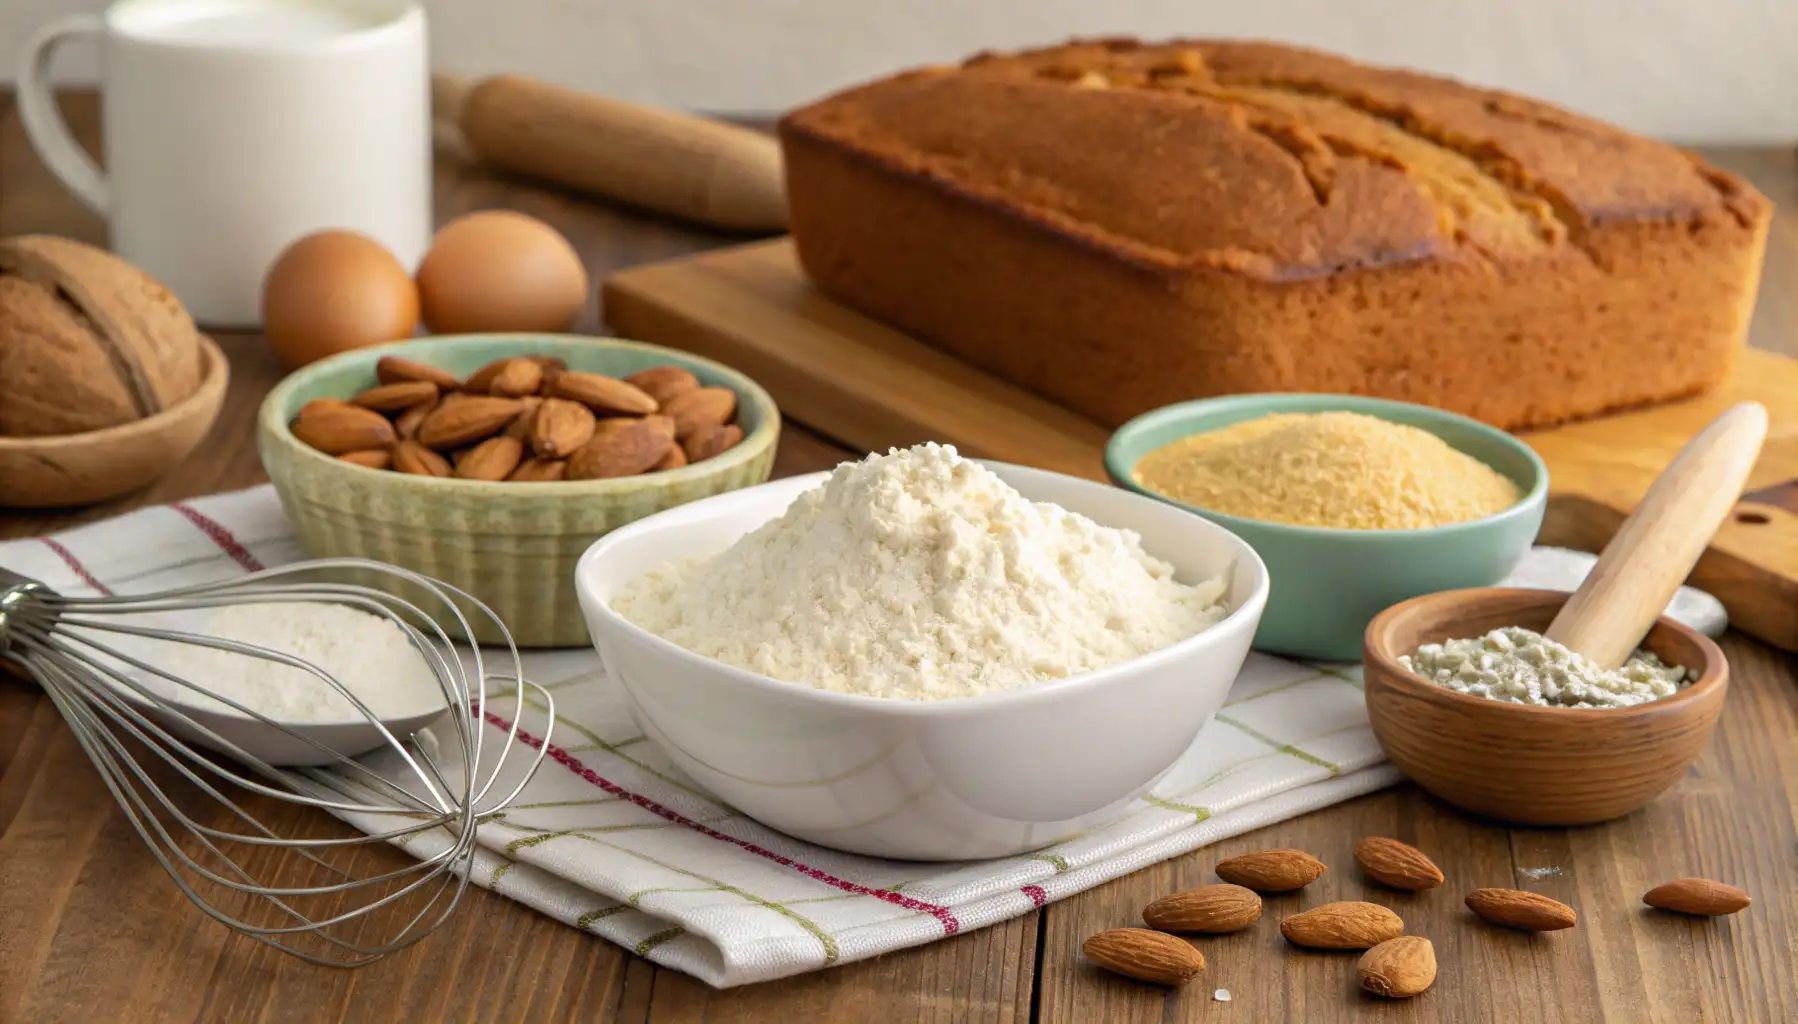
Essential Ingredients and Equipment
The foundation of any great dessert lies in its components and tools. Selecting the right elements ensures your creation rises perfectly and delivers that crave-worthy texture. Let’s break down what you’ll need to succeed.
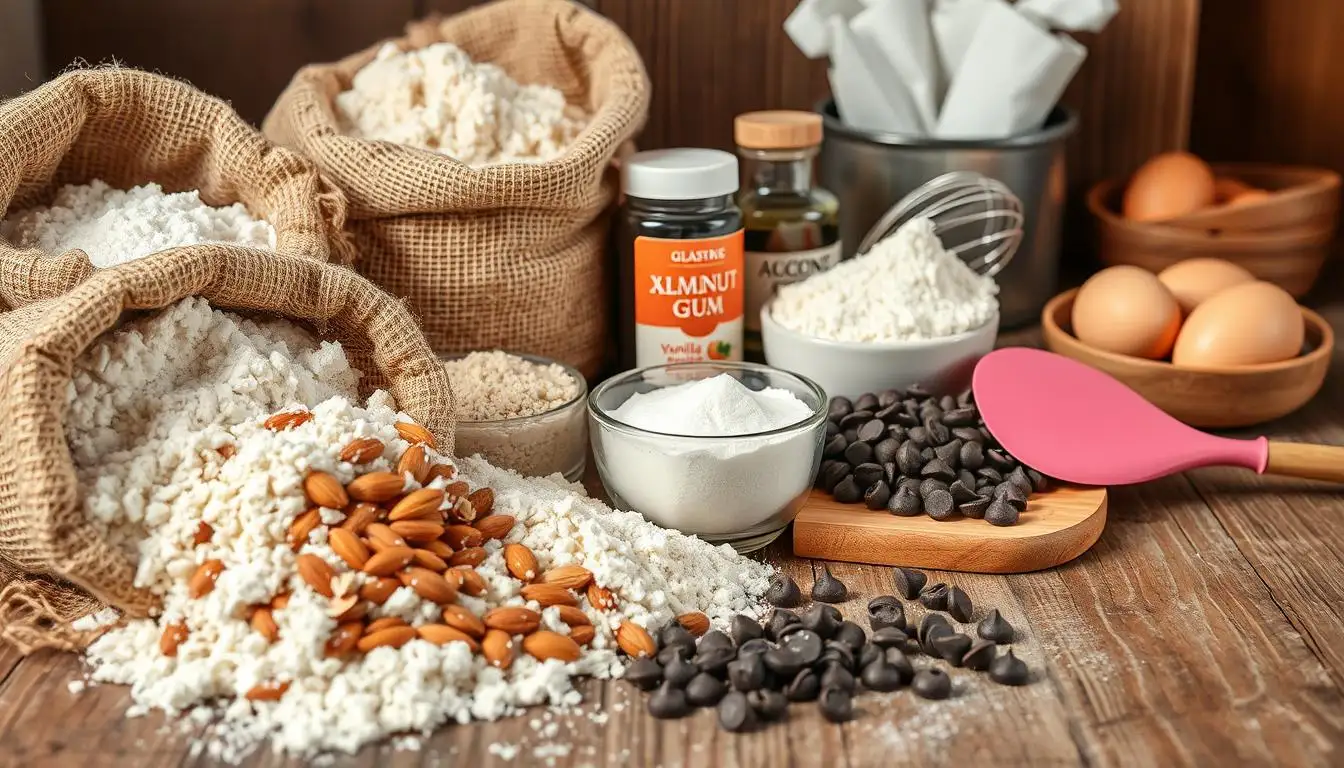
Key Cake Ingredients
Begin with a dependable gluten-free flour blend such as Bob’s Red Mill 1:1 Baking Flour. Its balanced mix of rice flour and starches mimics traditional wheat flour. Combine it with thin cocoa greasepaint for deep, rich flavor. Eggs act as natural binders, while coconut sugar adds subtle sweetness without overpowering.
Liquid components matter too. Almond milk keeps the batter smooth, and refined avocado oil locks in moisture. Don’t skip sifting—this step aerates dry ingredients like cocoa powder and flour blend, preventing clumps for an even crumb.
Must-Have Baking Tools
A sturdy stand mixer ensures thorough blending without overworking the batter. Line your pans with parchment paper to prevent sticking and ensure even baking. For best results, choose light-colored metal pans—they distribute heat better than dark alternatives.
Keep a set of nesting bowls handy. Separate wet and dry constituents originally, also combine them gradationally A digital thermometer helps monitor doneness, since ovens can vary. With these tools, you’ll replicate bakery-quality outcomes every time.
Authentic Gluten-Free Chocolate Cake Recipe: Step-by-Step Instructions
Mastering this dessert requires precision and patience. Follow these clear, methodical instructions to avoid common pitfalls and achieve a tender crumb every time.
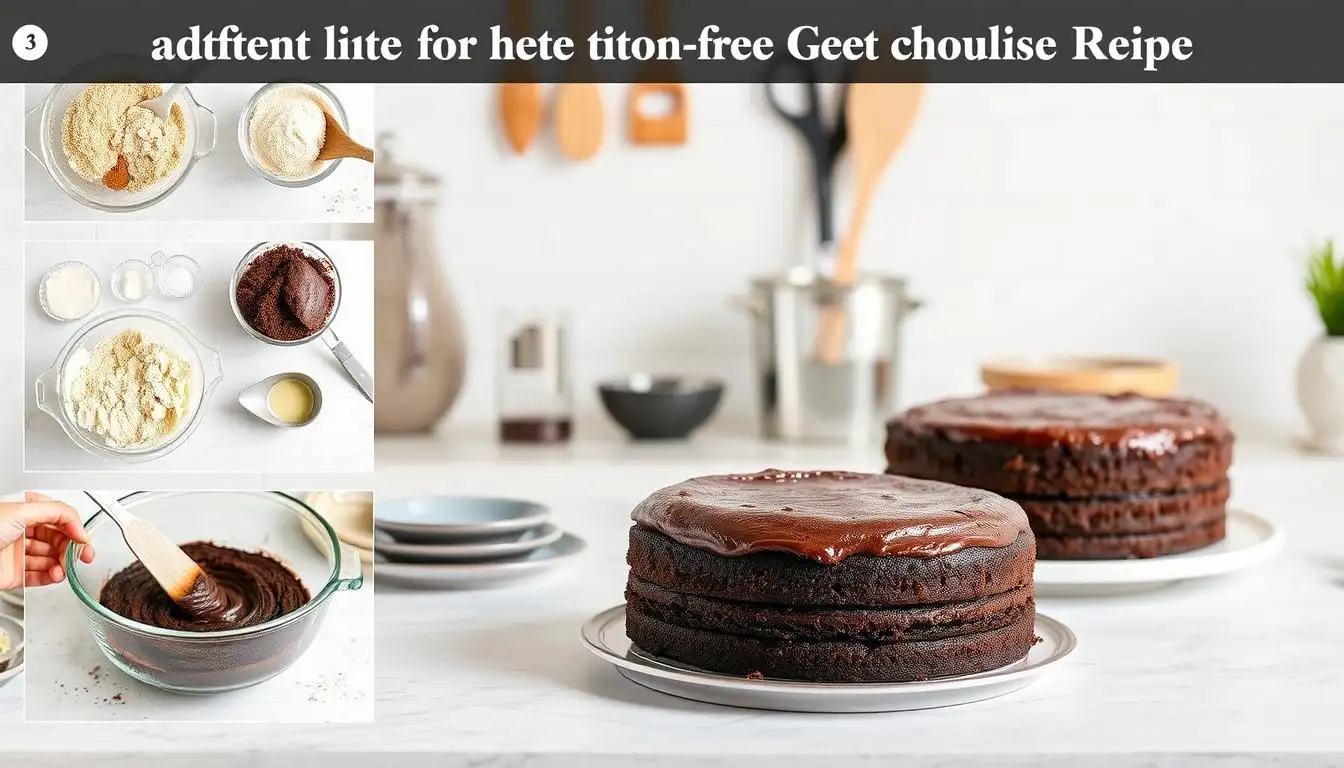
Preparation Steps
- Preheat your oven to 350°F. Line two 9-inch pans with parchment paper—this prevents sticking and ensures easy removal.
- Whisk almond milk, avocado oil, and room-temperature eggs in a large bowl until smooth. Add coconut sugar gradually to dissolve fully.
- Sift flour blend and cocoa powder together twice. Gently fold into the wet ingredients with a spatula, just until no streaks remain.
Baking Time and Temperature Tips
Place the pans on the oven’s center rack to promote even heat distribution. If your oven has uneven heating, turn the items halfway through baking.
Set a timer for 28 minutes. To check for doneness, insert a toothpick into the center—it should come out with a few moist crumbs, not raw batter.
- Cool in pans 10 minutes before transferring to a wire rack. Rushing this step causes sinking.
Pro tip: For extra lift, let your batter rest 5 minutes before pouring. This allows leavening agents to activate fully. Adjust baking time by ±3 minutes based on altitude or humidity.
Mixing Techniques for the Perfect Batter
Even the finest ingredients won’t shine without proper blending methods. The difference between a dense brick and a cloud-like crumb often comes down to how you handle the batter. Let’s explore techniques that preserve structure while maximizing tenderness.
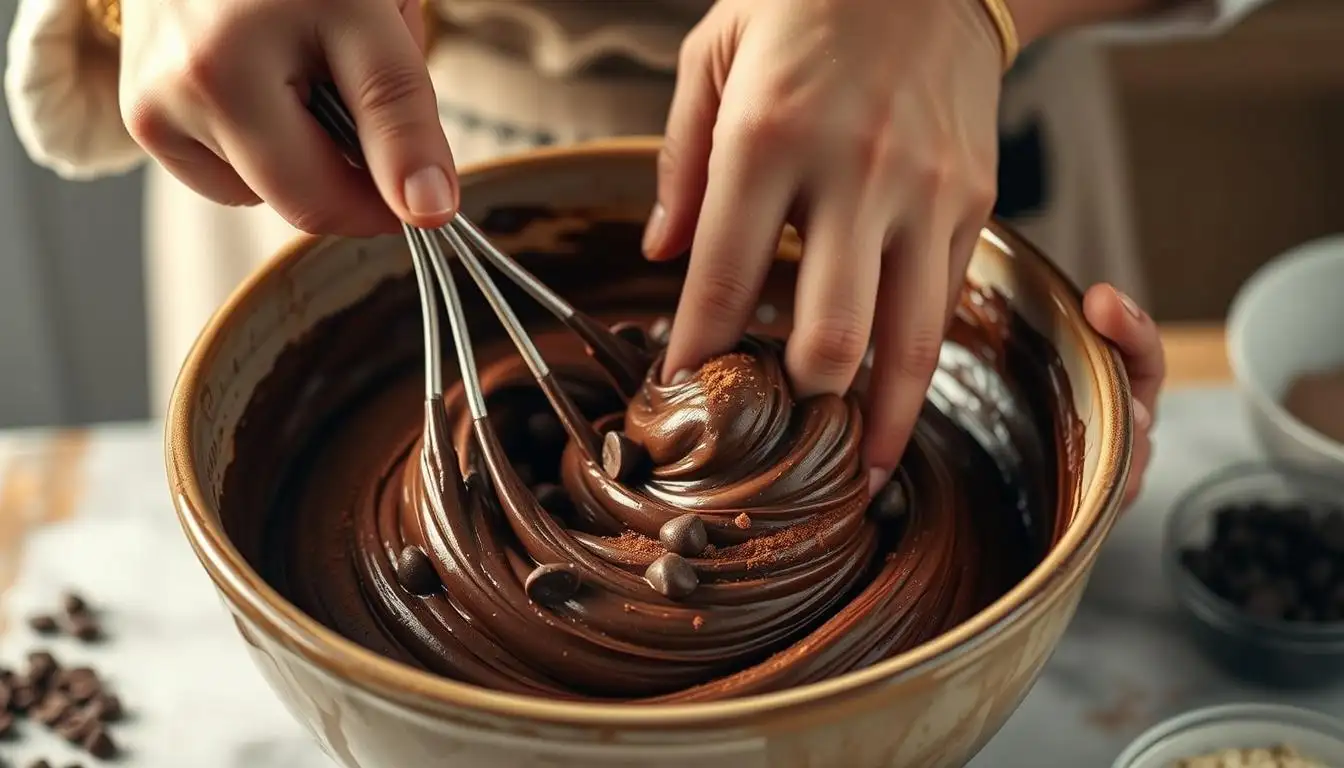
Achieving a Moist, Spongey Texture
Start by bringing all the wet ingredients, such as eggs and plant-based milk, to room temperature. Cold liquids resist emulsification, creating uneven pockets in the batter. Use a stand mixer with the paddle attachment on medium-low speed (setting 4) for 90 seconds to blend fats and sugars thoroughly.
When combining dry ingredients:
- Sift flour blends into the mixing bowl in three stages to prevent clumping
Blend on low speed for approximately 30 seconds, until the ingredients are just combined.
Stop immediately when no visible streaks remain
For manual methods, use a whisk with wide, sweeping motions. This aerates the mixture without overworking it. Scrape the bowl’s sides halfway through to integrate stray flour particles. Overmixing activates starches, leading to a gummy texture.
Options for Layer and Sheet Cakes
Transform your baking game by exploring versatile pan formats. Whether crafting a towering layer cake or a single-sheet masterpiece, your trusted recipes adapt effortlessly with smart techniques.
For multi-tiered creations, use two 8-inch round pans. Sheet versions shine in 9×13-inch rectangles. Always grease pans and line bottoms with parchment—this prevents tearing during removal. Measure batter with a kitchen scale: 450g per round pan ensures even height.
Key strategies for success:
- Rotate pans halfway through baking if your oven heats unevenly
- Cool layers completely before stacking to avoid structural collapse
- Trim domed tops with a serrated knife for flat, professional tiers
Single-sheet bakes simplify serving—slice directly in the pan. For themed events, try heart-shaped or hexagonal molds. Remember: thicker batters suit taller pans, while runnier mixes spread better in shallow dishes.
Avoid overfilling. Leave 1-inch space for rise.
Check for doneness 5 minutes early when using smaller pans. With these adjustments, one base recipe becomes endless crowd-pleasers.
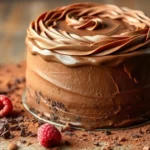
Creating a Delicious Frosting and Ganache
The final flourish transforms your creation from simple to spectacular. Frosting and ganache elevate textures while adding visual appeal. Both options pair beautifully with rich cocoa flavors, offering distinct textures and finishes.
Buttercream vs. Ganache: Pros & Cons
Silky buttercream combines softened butter, powdered sugar, and cocoa for spreadable sweetness. It’s ideal for intricate piping and holds shape well. However, it can become overly sweet if not balanced with salt or vanilla extract.
Smooth ganache is created by pouring warm cream over finely chopped chocolate. This creates a glossy, velvety coating that firms as it cools. While less sweet, it requires precise temperature control to avoid separation.
Tips for a Smooth, Glossy Finish
Sift the powdered sugar and cocoa greasepaint two times to remove any lumps.
- Beat buttercream for 4-5 minutes on medium speed to incorporate air
- Cool ganache to 90°F before pouring for optimal viscosity
Add 1/4 teaspoon salt per cup of powdered sugar to cut sweetness. For dairy-free versions, substitute coconut oil for butter and almond milk for cream.
Customization with Creative Toppings
Enhance visual appeal with:
- Crushed nuts pressed gently into fresh frosting
- Freeze-dried raspberries for tart contrast
- Edible gold leaf for celebratory occasions
Dust lightly with cocoa powder using a fine-mesh sieve. Store decorated desserts at room temperature for up to 2 hours before refrigerating.
Baking and Cooling Guidelines
Great bakes hinge on precision during two phases: oven work and post-bake care. Skipping steps here risks dense textures or uneven results. Let’s break down how to nail both stages effortlessly.
Why Oven Prep Matters
Preheating your oven is non-negotiable. A stable 350°F environment ensures even heat distribution from the first minute. Cold starts cause uneven rising, leading to cracked tops or sunken centers. Use an oven thermometer to check for accuracy, as many ovens tend to run hotter or cooler than their display indicates.
Proper pan prep prevents disasters. Grease sides with avocado oil, then line bottoms with parchment paper. This combo lets layers release cleanly without sticking. For sheet pans, extend the paper 1 inch beyond edges for easy lifting.
Timing and Placement Tips
Bake for 28-32 minutes, depending on pan size. Position racks in the oven’s center—this avoids direct heat from top or bottom elements.
Turn the pans halfway through cooking if your appliance tends to have hot spots. Press the center gently to see if it’s done — it should spring back.
Cooling is just as critical.
Allow the layers to rest in the pans for 10 minutes before moving them to wire racks. Rushing this step traps steam, making textures gummy. Wait until completely cool (about 1 hour) before frosting. Unseasonable icing melts and destabilizes the structure.
Store leavings in an watertight vessel at room temperature for over to 3 days. For longer newness, snap slices wrapped in plastic. Always make sure tools and timing align—these small choices deliver flawless results every time.
Gluten-Free Baking Tips and Tricks
Perfecting wheat-free creations demands more than swapping flours—it’s about mastering the science of structure. Small adjustments in technique and ingredient handling can elevate your results from crumbly to crave-worthy.
Handling Flour Blends and Xanthan Gum
Not all gluten-free flours behave the same. Conclude for mixes like King Arthur’s Measure for Measure or Bob’s Red Mill 11 Baking Flour These mimic wheat flour’s protein content, icing proper rise
Xanthan gum acts as a binder—use 1/4 teaspoon per cup of flour blend for elasticity.
Always spoon flour into measuring cups instead of scooping. This prevents compacting, which leads to dry textures. For precision, weigh dry ingredients using a kitchen scale—125g per cup is standard.
Avoiding Over-Mixing for Optimal Rise
Room-temperature eggs and liquids blend smoothly, creating stable emulsions. Cold ingredients cause uneven mixing, resulting in dense outcomes. Mix wet and dry components just until combined—about 45 seconds with a hand mixer.
Key signs you’ve gone too far:
- Batter appears shiny or stretchy
- Air bubbles vanish during pouring
- Finished texture resembles bread rather than sponge
In humid climates, reduce liquid by 1-2 tablespoons. High altitude? Add an extra egg white for lift. These tweaks save that light, airy scruple everyone loves.
Variations and Serving Suggestions
Elevate your dessert spread with endless flavor possibilities. A single base recipe becomes a canvas for creativity—swap extracts, mix-ins, or toppings to suit any occasion. This adaptability ensures every gathering feels fresh, whether hosting an intimate dinner or a festive party.
Exploring Alternative Flavors
Vanilla bean or peppermint extracts transform the profile instantly. Replace cocoa powder with ¾ cup almond flour and 1 tablespoon vanilla for a light, aromatic twist. For fruity notes, fold in ½ cup freeze-dried strawberries or citrus zest.
Pair slices with dairy-free ice cream for contrast—the cool creaminess balances rich textures. Fresh berries add brilliance, while heated coconut flakes introduce crunch.
Consider these ideas:
- Mini trifles layered with whipped coconut cream
- Bite-sized cupcakes for easy portion control
- Tiered displays with alternating flavors
Adjust batch sizes effortlessly. Halve ingredients for a 6-inch pan or double them for sheet trays. Dust with pulverized sugar or mizzle with melted dark chocolate for elegant homestretches.
Even simple swaps maintain the signature moist crumb and tender bite.
Remember: quality eggs and precise measurements ensure consistency across variations. Let your preferences guide the journey—every tweak celebrates individuality without compromising delight.
Storing and Serving Advice
Keep your creation fresh and scrumptious with smart storehouse strategies Proper techniques ensure every slice stays tender while unlocking creative presentation opportunities.
Preserving Moisture and Flavor
Always let baked goods cool completely before sealing. Trapped steam creates condensation, leading to soggy textures. Use an airtight container lined with parchment paper—this prevents sticking without absorbing moisture.
Store at room temperature for over to 3 days. For longer newness, chill up to 5 days Frosted items with butter-based toppings need chilling after 24 hours. Revive slightly dry slices by brushing with simple syrup or placing a cup of water in the container overnight.
Creative Serving Ideas
Elevate your presentation with these inspired touches:
- Layer crumbled pieces with whipped cream in parfait glasses
- Dust plates with cocoa powder using stencils for artistic flair
- Brace warm slices with citrus sorbet for discrepancy
For gatherings, pre-cut portions and arrange on tiered stands. Mini trifles in mason jars make portable treats. Reheat refrigerated servings 10 seconds in the microwave to restore that fresh-from-the-oven softness.
Follow these instructions to maintain quality: avoid direct sunlight, check containers daily for condensation, and never stack heavy items on top. With care, your desserts will impress from first bite to last crumb.
Conclusion
Baking should be joyful, not stressful—especially when dietary needs are involved. This approach combines smart techniques like proper sifting and temperature control to deliver reliable results every time. By focusing on quality cocoa powder and precise measurements, you create a dessert that’s both indulgent and inclusive.
Remember: success lies in each step. From mixing room-temperature constituents to letting layers cool fully, tolerance ensures that spongey texture . Don’t shy away from experimenting with vanilla extract or crushed nuts for unique twists.
High-grade tools and premium components matter. A sturdy stand mixer and parchment-lined pans simplify the process, while top-tier cocoa deepens flavor. Share your creations online—your tweaks might inspire others to rediscover the magic of homemade treats.
Now that you’ve learned the basics, make it your own Whether adding a pinch of salt for balance or trying new frosting styles, this recipe adapts to your creativity. Whip up a batch, savor the process, and watch smiles spread with every forkful.
FAQ
Almond flour adds humidity but may alter texture. For stylish results, use apre-mixed gluten-free flour mix containing xanthan goo to mimic traditional thickness.
How do I help the cutlet from getting dry?
Avoid overbaking by checking doneness at 25 twinkles. Use oil painting rather of adulation for redundant humidity, and encounter cooled layers with simple saccharinity before frosting.
What’s a dairy-free volition for frosting?
Coconut oil painting or vegan adulation works well in buttercream.For ganache, conclude for full– fat coconut milk paired with dairy-free dark chocolate chips.
Can I make this without eggs?
Yes — replace each egg with ¼ mug unsweetened applesauce or a marketable egg replacer. Acclimate baking time by 3- 5 twinkles since batters may set slower.
Why is preheating the roaster pivotal?
harmonious heat ensures indeed rise and prevents sinking. Always use an roaster thermometer to corroborate delicacy, as shifting temperatures affect scruple structure.
How long does it stay fresh?
Store covered at room temperature for 2 days or chill up to 5 days. indurate unfrosted layers wrapped in plastic for 3 months — thaw before decorating.
Do I need special kissers for distance vs. subcaste galettes?
Use light– colored essence kissers for indeed browning. For distance galettes, a 9×13- inch visage works best. Subcaste galettes bear two 8- inch round kissers oiled and lined with diploma.
Delicious Gluten-Free Chocolate Cake
Equipment
- 1 9-inch cake pan Or two if making a layer cake
- 1 Mixing Bowl Large size recommended
- 1 Spatula For folding ingredients
- 1 Sifter For cocoa powder & flour
- 1 Stand mixer or whisk For mixing batter
Ingredients
- 1 ½ cups Gluten-free flour blend Like Bob’s Red Mill 1:1 Baking
- ¾ cup Unsweetened cocoa powder Sifted for best results
- 1 cup Coconut sugar Or use organic cane sugar
- 1 tsp Baking soda
- ½ tsp Sea salt
- 3 Eggs Room temperature
- 1 cup Almond milk Unsweetened
- ½ cup Avocado oil Or another neutral oil
- 1 tbsp Apple cider vinegar Helps activate baking soda
- 1 cup Hot water or brewed coffee Adds depth to chocolate flavor
- 1 tsp Vanilla extract Optional but recommended
Instructions
- Preheat oven to 350°F (175°C) and line your cake pan(s) with parchment paper.
- In a large mixing bowl, whisk together eggs, almond milk, avocado oil, vinegar, and vanilla.
- Sift in the flour, cocoa powder, baking soda, and salt. Mix gently to combine.
- Gradually stir in coconut sugar until fully dissolved.
- Pour in the hot water or coffee and mix until the batter is smooth and glossy.
- Pour the batter into prepared pans and bake for 28–30 minutes.
- Allow to cool for 10 minutes in the pan, then transfer to a wire rack to cool completely.
Notes
- To make it dairy-free, ensure your cocoa and milk are both dairy-free certified.
- For added richness, top with a dairy-free chocolate ganache or dust with powdered sugar.
- Store leftovers in an airtight container at room temperature for up to 3 days.
3 thoughts on “Delicious Gluten-Free Chocolate Cake”